Raycaster
In this post, we're going to build a simple raycaster based game in the vein of Wolfenstein 3D. To keep things dead simple, we're going for a 2.5-D game with nothing but square walls laid out on a square grid. I'm taking this as an exercise to get a little bit of practice with the Odin language. Why Odin? I'd like to get more exposure to low level languages, and in contrast to C/C++, Odin's package mangement is a dream. Everything is simply based on directory structure, everything is statically linked. Everything just works. Case in point, it works with Raylib out of the box. I don't have to install dependencies, mess around with path or environment variables, or figure out the right arcane linker flags. Just import rl "vendor:raylib" in my Odin file and then odin run . to compile and run.
Raycasting itself is an old technique and you can find lots of great examples out there. This post isn't going to show you anything radically new. Writing about my experience is just a fun way for me to solidify my understanding.
So let's get started. First, let's create a very basic level map. We can use a 2D matrix of integers, where 1 represents a wall and 0 represents empty space.
width :: 20
height :: 20
levelMap: [height][width]int
This simply declares a 20x20 array. By default, Odin will initialize every element to zero. We'll want a border wall at least, so we don't go walking out into the void. And maybe some obstacles in the middle for some variety. Keeping things dead simple, I'm just declaring my levelMap as a global and creating an initalizeLevel procedure to set the perimeter to 1 and throw in a few blocks in the middle.
initializeLevel :: proc() {
    for r:=0; r<height; r+=1 {
        for c:=0; c<width; c +=1 {
            if r == 0 || c == 0 || r == (height - 1) || c == (width - 1) {
                levelMap[r][c] = 1
            }
        }
    }
    levelMap[5][5] = 1
    levelMap[5][6] = 1
    levelMap[6][6] = 1
    levelMap[10][10] = 1
}
Sure, this makes for a pretty boring level, but consider it a placeholder for now. We can get into some fun procedural generation stuff later once we have a way to render our level and walk around in it. Let's define a struct to hold the position and orientation of our player:
Creature :: struct {
    position : rl.Vector2,
    angle : f32,
}

player := Creature{{17.0, 12.0}, 0.0}
I'm calling this struct 'Creature' because we can probably reuse this for enemies or other entities roaming around our map. I'm using Raylib's Vector2 type to hold position and a simple float to store an angle. So we've started out player at locatioin 17, 12 while facing right (an angle of zero).
Now that we have a player position, we can start casting rays to see how far we are from the nearest wall. We want to cast rays over a range of angles that will define our field of view. So for any given angle, we can write a function to cast a ray:
castRay :: proc(angle: f32) -> (f32, f32) {
    cur_x := player.position.x
    cur_y := player.position.y
    dx := math.cos(angle)
    dy := math.sin(angle)
    iter :=0
    for ; getMapSquare(cur_x, cur_y) != 1; {
        cur_x += 0.1*dx
        cur_y += 0.1*dy
        iter += 1
        if iter > 400 { break }
    }
    delta_vec := rl.Vector2{(player.position.x - cur_x),
                            (player.position.y - cur_y)}
    distance: f32 = math.sqrt(rl.Vector2DotProduct(delta_vec, delta_vec))
    wall_height: f32 = 300.0 / distance
    return distance, wall_height
}
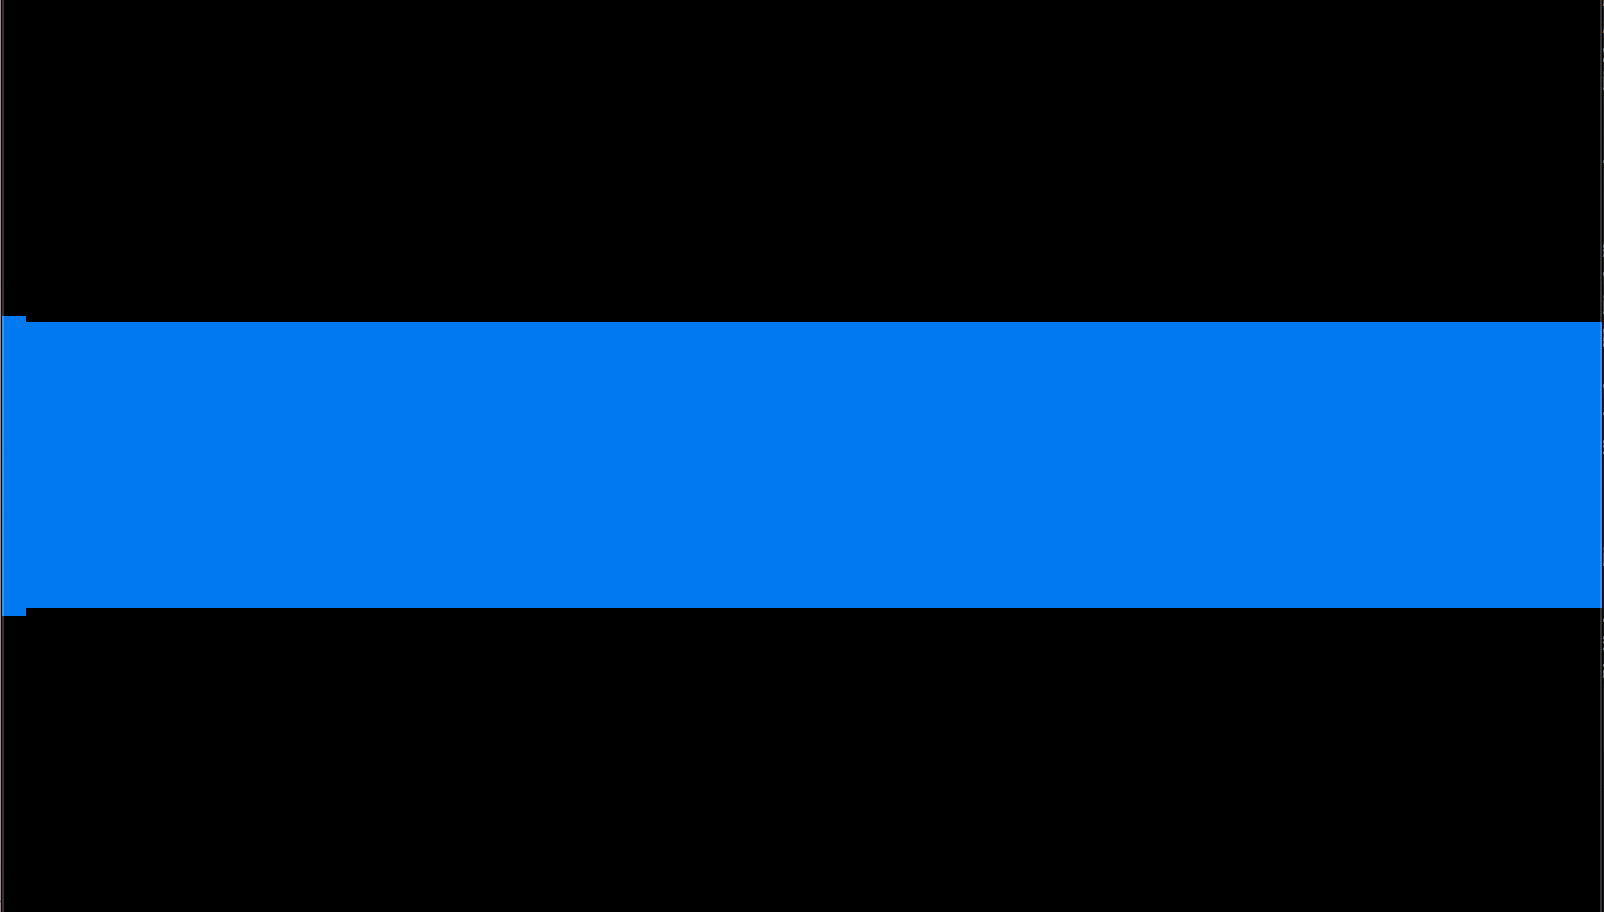
This is a quick and dirty way to handle this, since we're just pushing forward by fixed intervals instead of taking advantage of the grid layout (we can improve this later). We start at our player position and move forward along a straight line until we hit a wall (with an iteration cap for safety). Now we run this function repeatedly to cover every angle in our field of view, giving us a series of vertical stripes where we know the distance to the nearest wall. We scale the height of the wall by the distance. Then we use raylib's DrawRectangle to draw each vertical slice as a rectangle on the screen. Let's see what we can see.
Ok, a blank wall is not the most interesting. Let's add the ability to walk around and handle keyboard inputs. We'll check if the left/right arrows are pressed and update our heading, and then check for up/right arrow keys and move our player forward or backward.
handleInput :: proc(dt: f32) {
    if rl.IsKeyDown(.RIGHT) {
        player.angle -= 0.1*dt
    } else if rl.IsKeyDown(.LEFT) {
        player.angle += 0.1*dt
    }

    if rl.IsKeyDown(.UP) {
        dx := math.cos(player.angle)
        dy := math.sin(player.angle)
        player.position.x += dx * dt
        player.position.y += dy * dt
    } else if rl.IsKeyDown(.DOWN) {
        dx := math.cos(player.angle)
        dy := math.sin(player.angle)
        player.position.x -= dx * dt
        player.position.y -= dy * dt
    }
}
Our input handling feels a bit janky, but voila, we are now walking around our map.
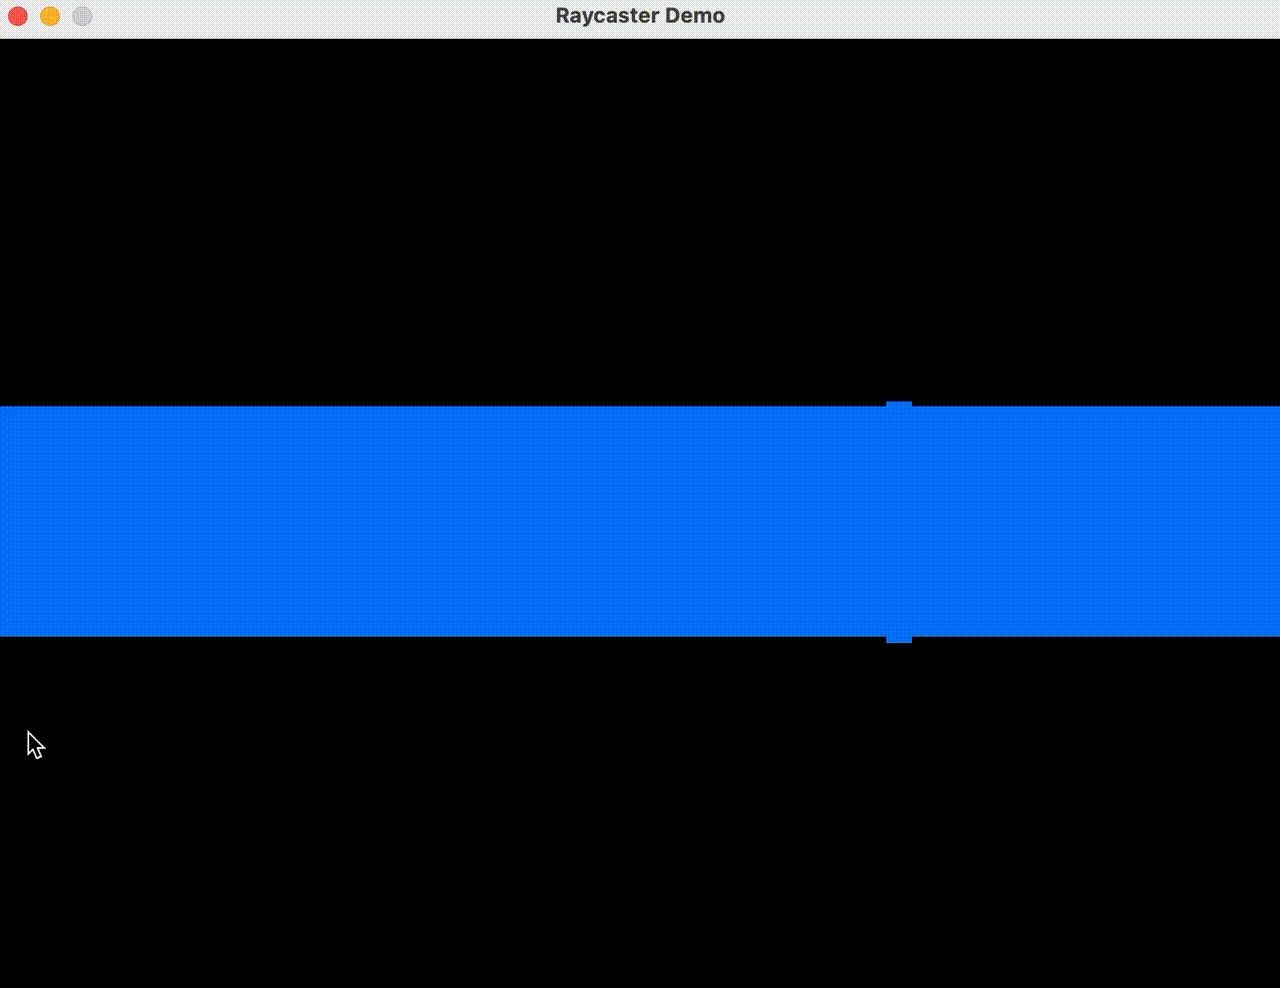
Now this is all fairly rough right now, but this is a good first step. There are lots of ways to improve. For instance, our movement isn't checking for collisions, so we can walk right through walls. And we could make walls that are father away a bit darker to visually signal that they are far away. And of course for a real game, we'd want to apply textures instead of drawing solid colored rectangles anyway. We could also add enemies or items by simply drawing sprites if they are in our field of view.
This method works because having our map just be blocks on a grid makes it extremely fast to see where a ray intersects with the map. We just round the position to an integer pair and check levelMap[x][y], which is a fast O(1) lookup. If we had some more arbitrary geometry, say a list of line segments describing walls, the naive approach of checking every wall for intersection would be much slower.
We will leave our little raycaster here for now, but I have plans for many improvements. As always, code can be found on here on github.